Car Audio
Custom Search
|
||
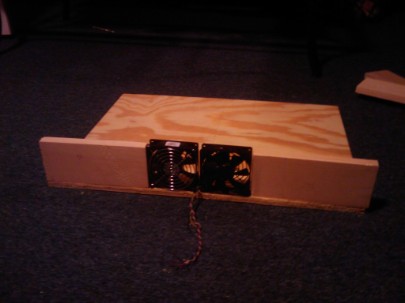
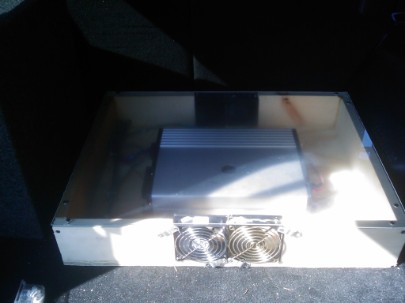
(pic below) Some fans I had laying around in old computers. Wood and plastic cover (not pictured) from local hardware store, only $24. 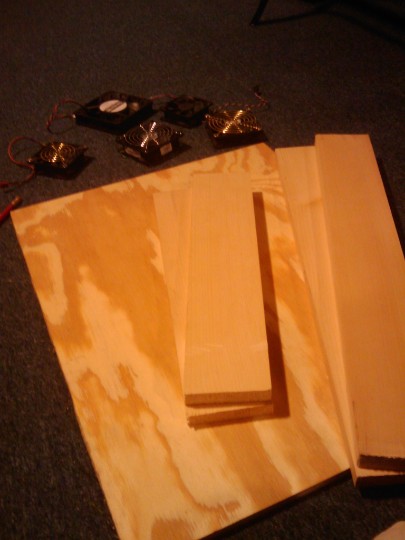 Big Square= 2' x 1.5'
|
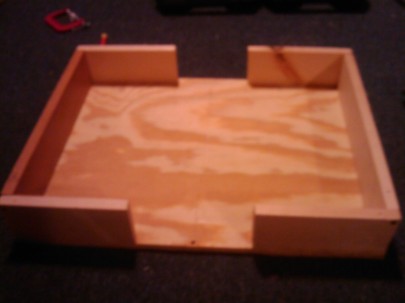
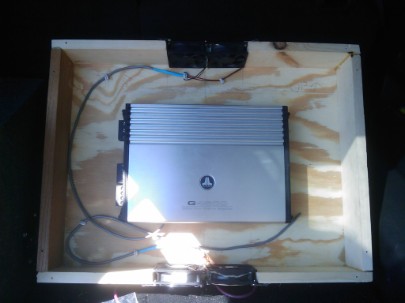
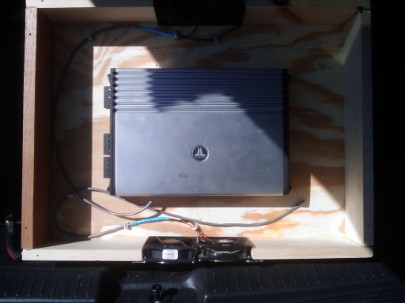
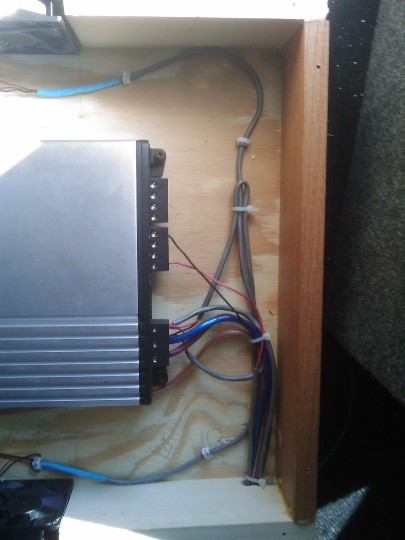
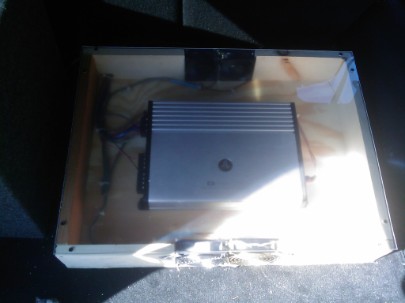
Fan Cooled Single Amp Rack So I have an amplifier and I live in Western Mass. Its nothing compared to the South, but still gets hot in the summer none the less. Couldn't find any place on the web on how to build a fan cooled amp rack so I made one myself and hopes it helps others and maybe even inspires others to share their designs if they build one as well.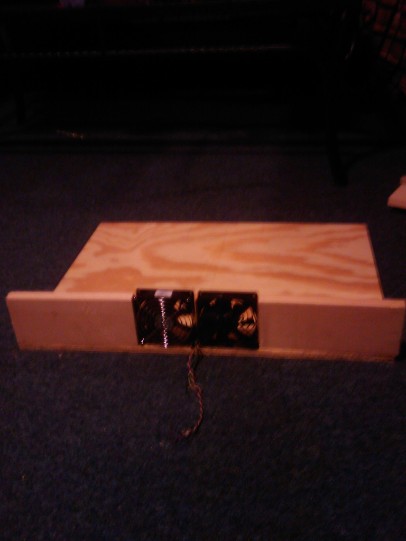 (pic above) Glued fans together with Gorilla Glue which i don't recomend. It takes forever to dry and runs alot. It expands afterwards too into an ugly yellow color. I picked up a hot glue gun couple days later which i wish i had at the time. 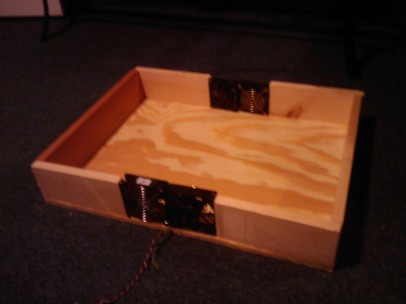 (pic above) Repeated other side with other fans and cut wood as close as i could to fans. If you can tell in the picture above, discolored darker wood on left, I lost track of what wood pieces were what and accidentally cut a good piece i had already cut and had to find what i could in the basement. whatever. 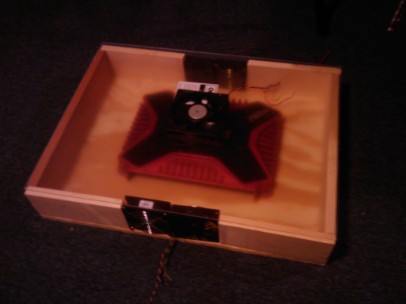 (pic above ) My original idea was to have two fans on each side as you can see. The plexiglass on top as you can see, but I also had a monster fan left over from a computer as well so i was going to cut a hole in the plastic cover in the middle and have it blowing down at the top. That quickly passed when I realized that i had to put my box on top and wouldn't be able to breathe. If anyone else gets something like this to work I'd be interested to see it. (pics left) Had some left over cable from one of my previous jobs which I just used. I soldered all positive fan leads to one wire and all negative leads together to one wire on one side and repeated on other side. After soldering i put electrical tape over them and then shrink tubing over that which i picked up at walmart. 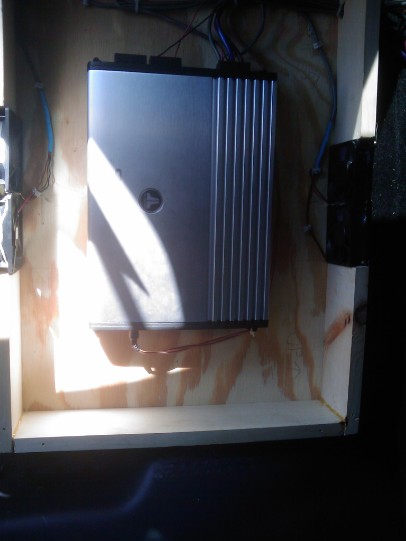 (pic left) Used zip ties and wire staples for walmart as well. The blue color on wires in front of fans is the heat shrink tubes which i just used a hair dryer to shrink over soldered electrical tape connections. Cut one hole with drill for all wires to go through. 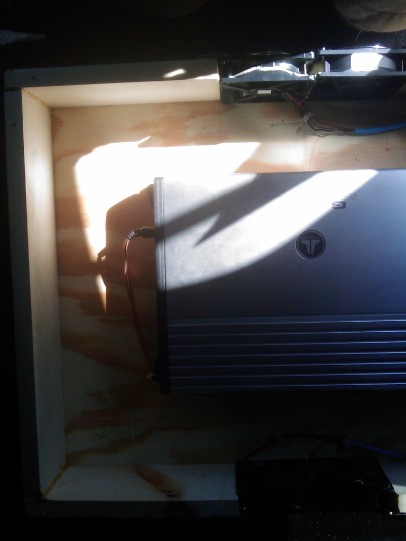 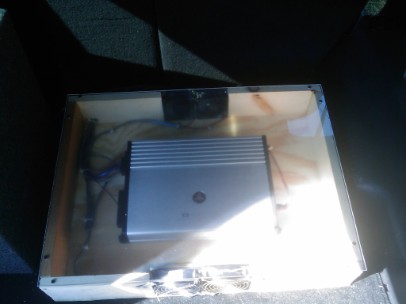 (pic above) Finished pic 3. Doesnt look too shabby. Still need to carpet black to match upholstery, but for now does its purpose. Keeps amp cooler and Bass Louder. Fans could be a little quieter so maybe could find a way to get the fan speed to go up/down with the volume would be nice so when you have it down they aren't as loud. I think ill just install a switch for now just to shut them on and off. |
|